
Key Lime Pie (USA/Florida)
November 3, 2025
Christophe Michalak
November 3, 2025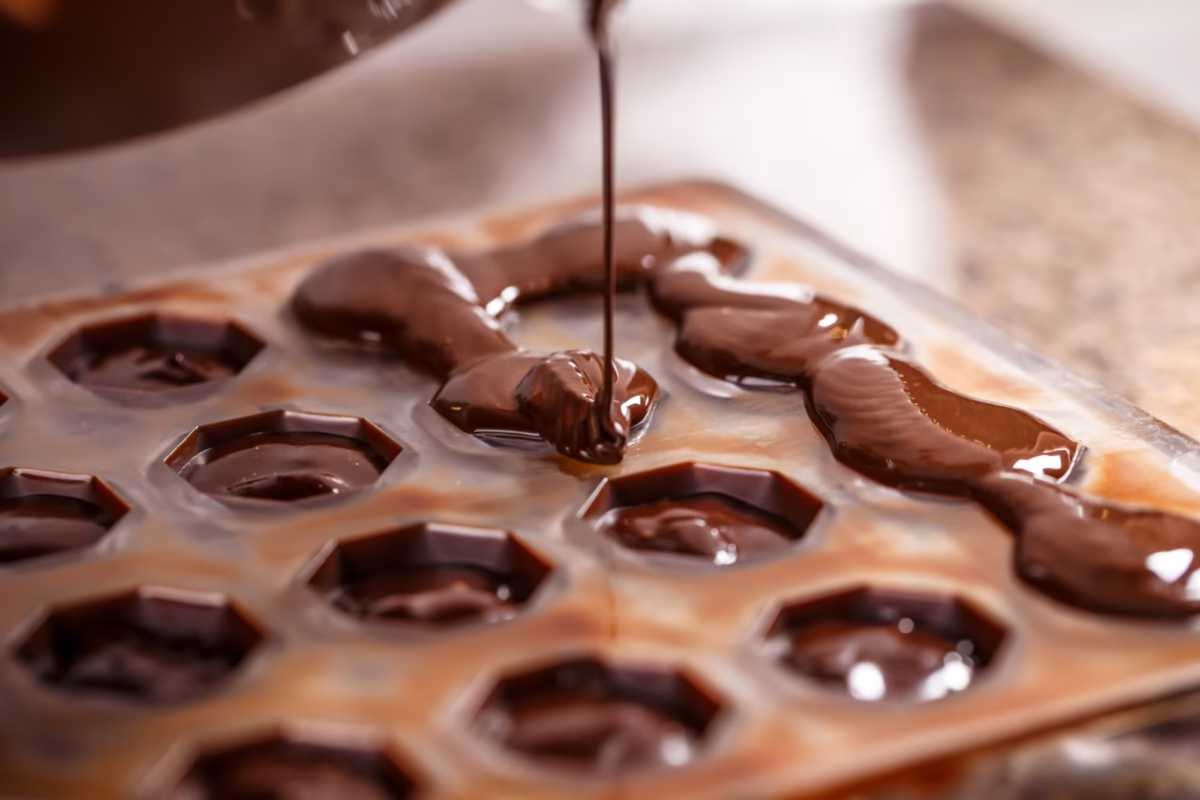
For professional-looking bonbons and pralines.
There’s something deeply satisfying about unmoulding a perfect chocolate shell: the shine, the snap, and the precise shape all signal your technique and tools are in harmony. For anyone serious about chocolate or sugar work, polycarbonate moulds are the unsung heroes—delivering professional results every time.
Let’s explore why polycarbonate moulds, in particular, stand out among the available options.
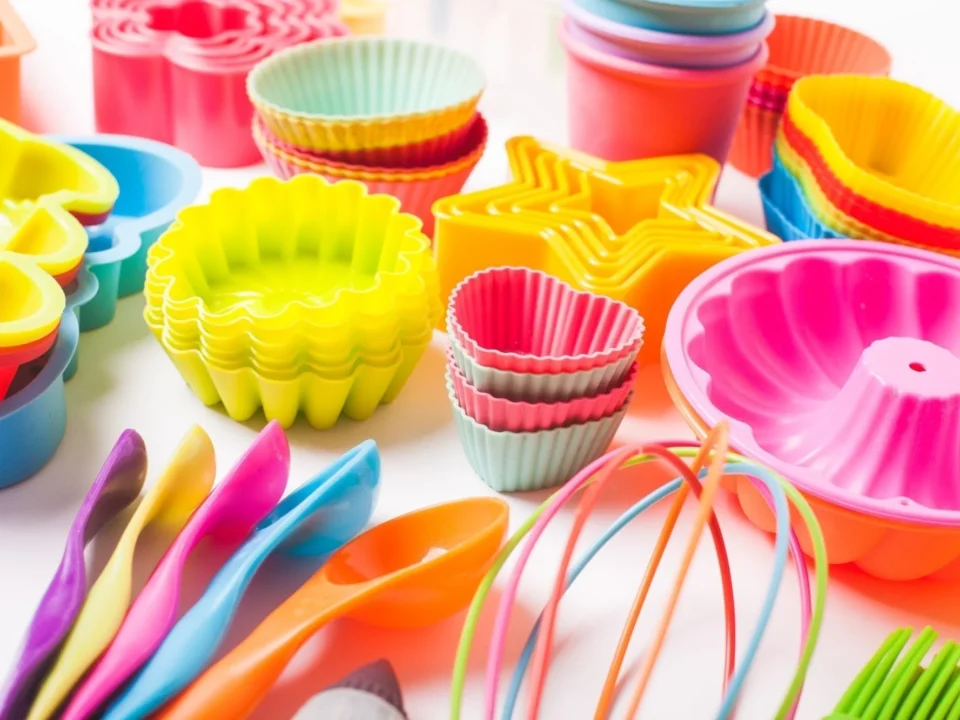
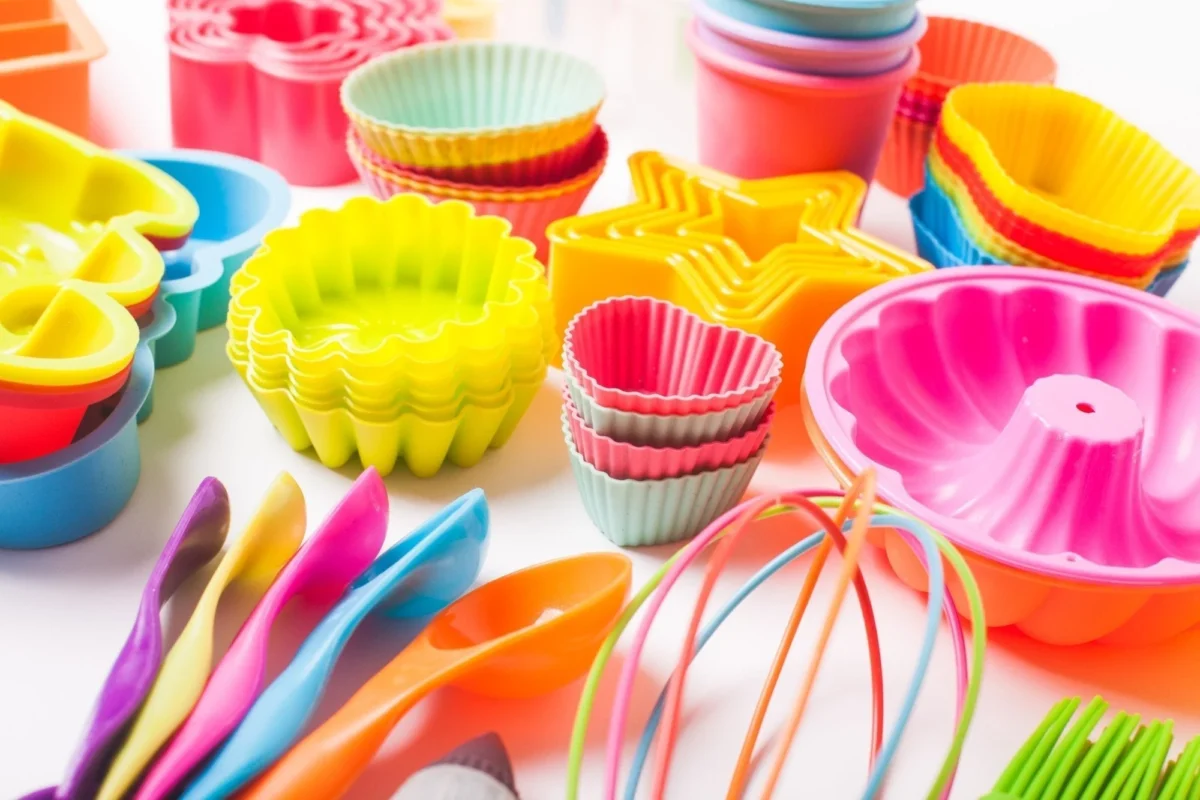
Many home cooks start with silicone moulds for their flexibility and price. These work for some desserts, but not tempered chocolate. Flexibility becomes a flaw—you need a rigid surface for structure and shine. Polycarbonate delivers this.
The material conducts temperature efficiently, allowing the chocolate to crystallise evenly. This creates a flawless, reflective surface. The mould’s hardness also helps you achieve clean edges and consistent shapes, so every bonbon or praline will look like it belongs in a pastry case.
Another reason professionals favour polycarbonate is durability. These moulds can last for years if properly cared for. They withstand repeated use, gentle washing, and temperature changes far better than cheaper plastic or silicone versions.
Getting Started with Chocolate Moulds
Before pouring chocolate, ensure your moulds are spotless. Any residue or fingerprint will appear on the finished piece. Clean with cotton pads and alcohol, then buff with a clean cloth until the cavities shine.
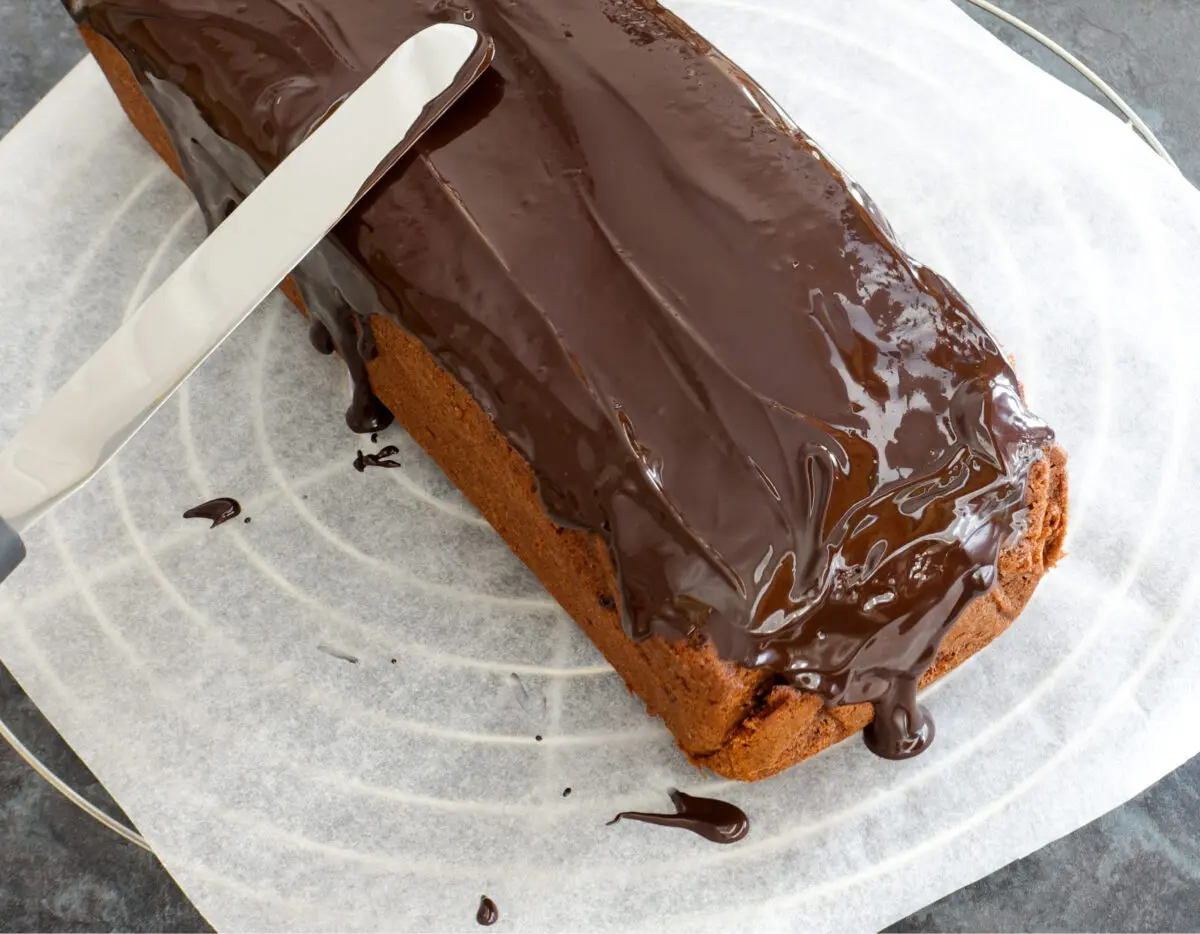
Tempering chocolate is crucial. Without it, chocolate looks dull and may not unmould cleanly. Once in perfect temper, pour into moulds, tap to release air bubbles, and invert to remove excess, forming the shell. Let set, then fill and seal with more tempered chocolate.
When the mould feels cool and the chocolate has shrunk slightly, flip and sharply tap it. The chocolates should be released easily, glossy, and smooth.
Shapes and Styles
Polycarbonate moulds come in all shapes: domes, hearts, squares, spirals, and more. Beginners should start with classic domes or half-spheres, which are forgiving and show shine well. As skills grow, try shapes that make striking reflections.
Use coloured cocoa butter for artistry. Chocolatiers spray or paint the moulds first for marbled, metallic, or speckled effects. Polycarbonate’s rigid surface makes applying even colour simple.
Pralines and Fillings
Pralines in the European tradition often start with a nut-based filling. Hazelnut or almond pastes are common, sometimes mixed with milk chocolate for a smoother texture. In Australia, macadamia praline is a natural adaptation that pairs beautifully with dark chocolate.
Ganache, made from chocolate and cream, is another classic filling. For variety, infuse the cream or add layers—such as a crisp nut base with soft caramel—for contrast.
Caring for Your Moulds
After use, let moulds reach room temperature before cleaning. Avoid hot water and soap unless needed. Clean with a soft cloth and a little alcohol. Store covered and upright to avoid scratches and dust.
If your moulds lose their shine over time, polish them lightly before use. The surface of the mould determines your chocolate’s sheen, so maintaining that mirror finish makes all the difference.
Why Professionals Love Them
Professional chocolatiers rely on polycarbonate moulds for guaranteed consistency. Whether making a few pieces or hundreds, these moulds hold up under constant use, resist staining, and release chocolate cleanly when properly tempered.
There’s also a creative joy in using them. They’re like a blank canvas, ready for your imagination. With practice, you’ll start thinking less about mechanics and more about artistry — how colours, shapes, and flavours come together to create an experience.
Taking It Further
Once you master the basics, combine polycarbonate moulds with sugar work for impressive desserts. Chocolate shells alongside pulled or spun sugar turn treats into showpieces.
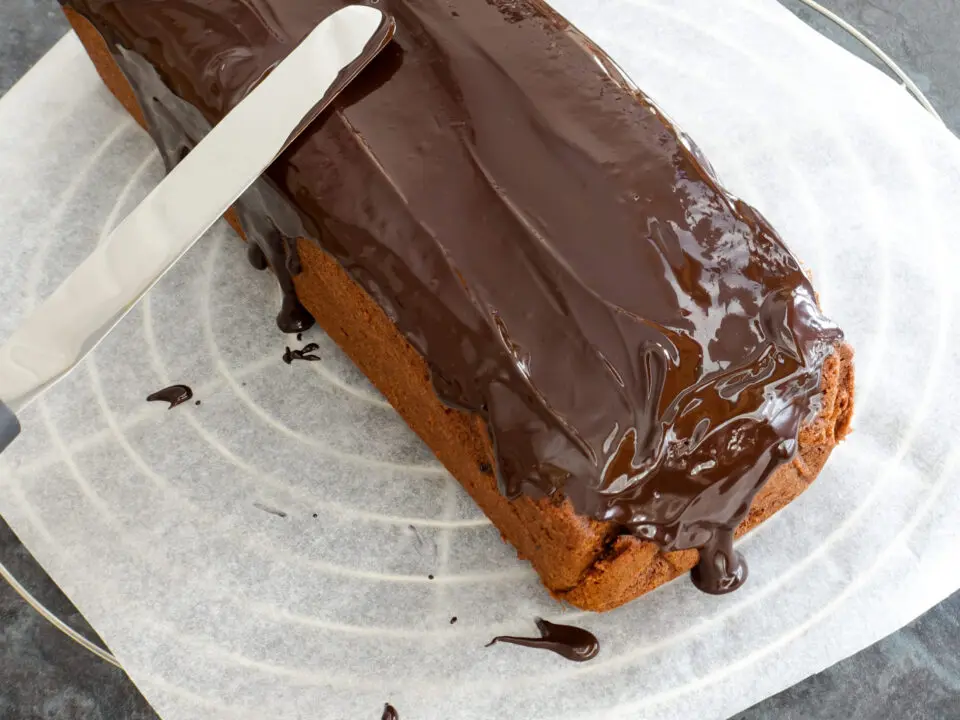
Experiment by layering chocolates: white shells with raspberry ganache, or dark shells brushed with gold powder. The moulds’ precision allows endless possibilities.
—
FAQ: Chocolate Moulds for the Advanced Home Chef
1. Why won’t my chocolates release from the mould?
They’re probably not fully set, or the chocolate wasn’t tempered correctly. Let them sit longer in a cool environment, then tap the mould gently. Avoid the fridge if possible, as moisture can dull the finish.
2. Can I use silicone moulds for chocolate?
You can, but silicone won’t give the same gloss or crisp snap. Polycarbonate moulds are preferred for professional results.
3. How do I clean my polycarbonate moulds?
Clean with cotton pads or a soft cloth and a little alcohol. Avoid soap and hot water. Dry thoroughly and polish before next use.
4. Can I use polycarbonate moulds for sugar work?
Yes, but only for certain applications, such as poured isomalt. Avoid using them for pulled sugar, which requires very high temperatures.
5. What chocolate works best with these moulds?
High-quality couverture chocolate, rich in cocoa butter, gives the best shine and release. Compound chocolate can be used, but won’t temper or gloss as beautifully.
6. How long do polycarbonate moulds last?
With care, moulds last many years. Avoid scratches and store them properly after cleaning.
7. Can I freeze chocolates made in these moulds?
You can. Seal tightly to prevent moisture and let it reach room temperature before opening after freezing.
—
To sum up: Polycarbonate chocolate moulds are essential for achieving professional-quality results at home. Mastering them elevates your skills and lets your creativity shine in every bonbon and praline you make.
Related posts